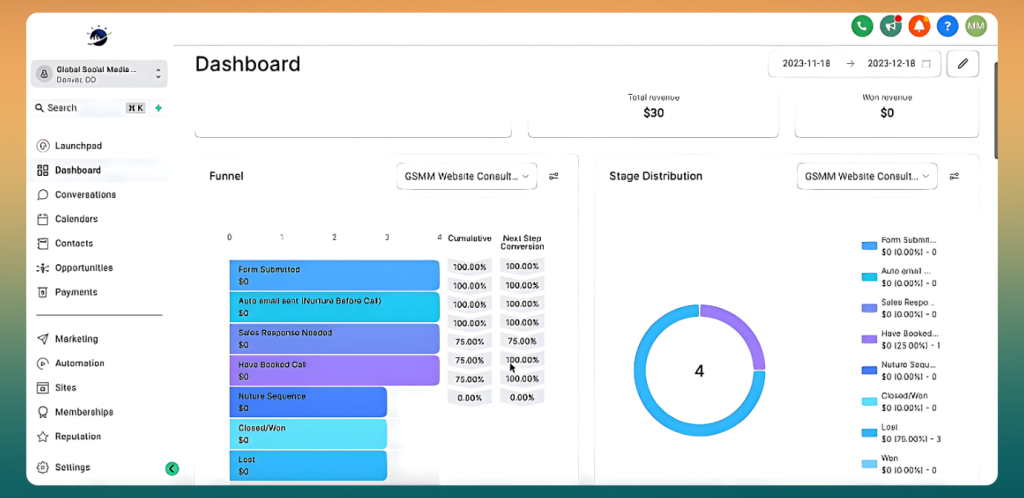
The GoHighLevel dashboard is an intuitive interface that consolidates critical business metrics and tools into one view. Designed to improve efficiency, the dashboard enables users to manage their tasks, track performance, and access key features such as widgets, campaign monitoring, and contact management. It’s the ultimate tool for keeping everything organized while ensuring you never lose sight of your goals.
With the ability to customize and add widgets, the GoHighLevel dashboard offers a personal, tailored experience for every business’s unique needs.
Why customize the GoHighLevel Dashboard?
Customizing the GoHighLevel dashboard isn’t just about aesthetics; it’s about functionality, branding, and usability. Here are a few reasons to consider:
- Brand Cohesion: A customized dashboard reflects your business’s brand, creating a consistent experience for clients and team members.
- Enhanced Usability: Tailored layouts and designs can make the dashboard more intuitive for your specific workflow.
- Client Impressions: For agencies and businesses that give clients access, a polished dashboard builds trust and professionalism.
- Efficiency: Highlight frequently used tools and hide unnecessary ones to streamline day-to-day operations.
Getting Started with GoHighLevel Dashboard Customization
Customizing the GoHighLevel dashboard involves both functional and visual adjustments. Here’s a step-by-step guide to get started:
1. Access the Customization Settings
- Log in to your GoHighLevel account.
- Navigate to the settings menu by clicking the gear icon in the lower-left corner of the dashboard.
- Select Company Settings or Profile Settings, depending on whether you’re customizing for personal use or as part of a team.
2. Upload Your Brand Assets
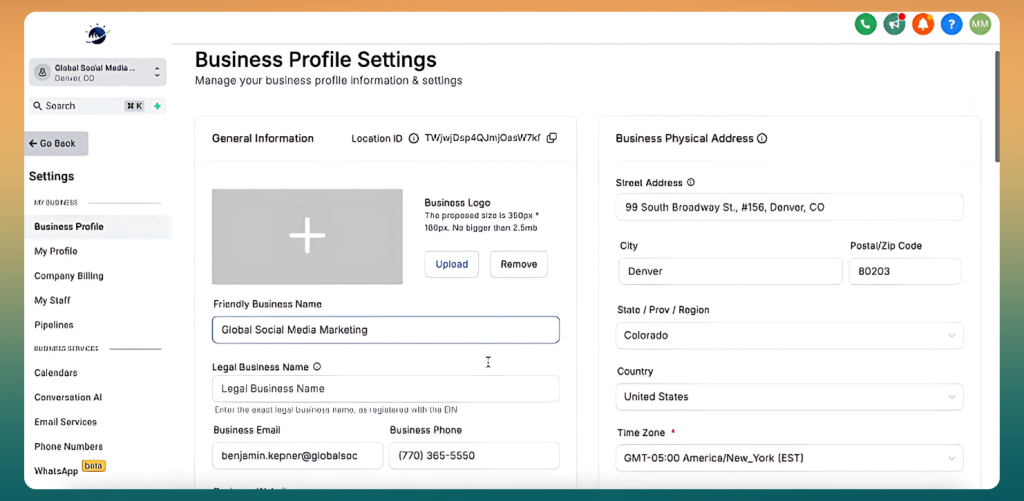
- Go to the Custom Branding tab.
- Upload your company’s logo and favicon. Ensure these images are high-resolution and meet the required dimensions for a professional look.
- Set your brand colors for primary and secondary elements. These colors will appear across buttons, headers, and other elements.
3. Adjust the Navigation Bar
- Customize the navigation menu to reflect your most-used tools. For example, if you frequently use the calendar and funnels, move those to the top.
- Hide features that your team doesn’t use to declutter the interface.
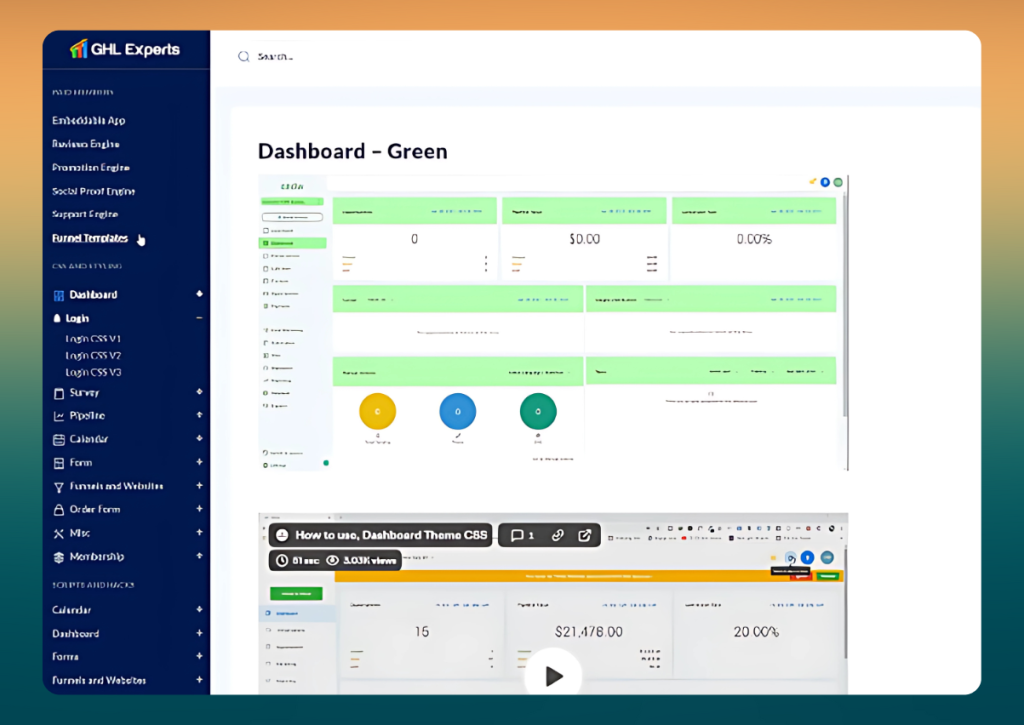
4. Personalize the Login Page
- GoHighLevel allows you to customize the client login page. Add your logo, brand colors, and even a custom welcome message to make a solid first impression.
- For extra personalization, use CSS tweaks (covered later) to further stylize the login page.
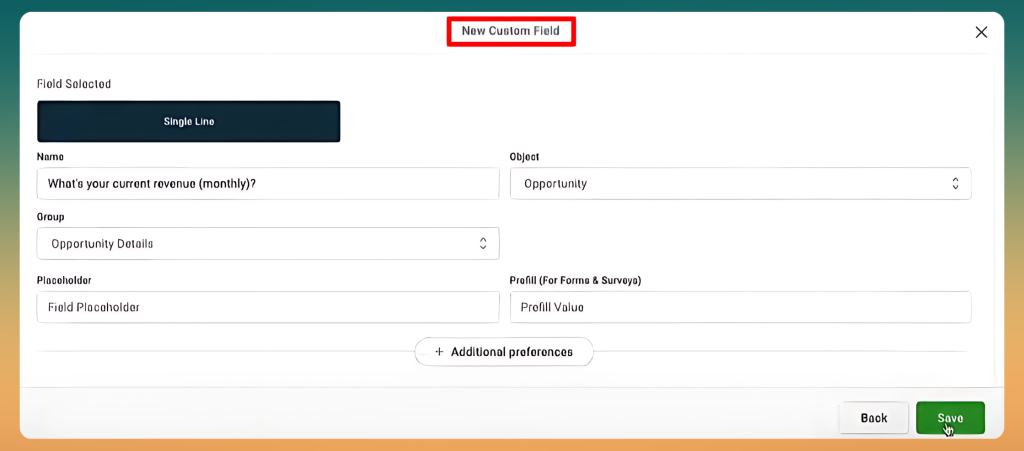
5. Add Custom Fields
- Tailor the CRM by adding custom fields for leads and clients. For example, you can track specific WordPress-related projects, hosting details, or client plugin preferences.
Styling the GoHighLevel Dashboard with CSS
For WordPress users who enjoy diving into the code, CSS (Cascading Style Sheets) can take your GoHighLevel dashboard customization to the next level. Here’s how:
Adding Custom CSS
<pre class="wp-block-prismatic-blocks"><code class="language-css">body {
 font-family: 'Poppins', sans-serif;
 background-color: #f7f9fc;
}
.navbar {
 background-color: #004aad;
}
button {
 border-radius: 8px;
 font-weight: bold;
}</code></pre>
Helpful CSS Tips
- Use browser developer tools (right-click > Inspect) to identify the classes and IDs of elements you want to style.
- Test small changes before implementing a full-scale redesign.
- Stick to web-safe fonts and ensure your colors maintain accessibility standards (contrast ratios, etc.).
Integrating WordPress Design Elements
If you’re running a WordPress site, chances are you’ve spent time perfecting its design. Here’s how you can bring some of those elements into your GoHighLevel dashboard:
1. Match Brand Colors
Use the same color palette as your WordPress site. If you’re unsure of the exact shades, use a browser extension like ColorZilla to extract them.
2. Use Shared Typography
For consistency, download and upload the same fonts you use on your WordPress site. Google Fonts and Adobe Fonts are popular choices that integrate well with both platforms.
3. Link to WordPress Pages
Include links to relevant WordPress pages, like support documents or client resources, directly within the dashboard.
What Software Does GoHighLevel Replace?
GoHighLevel consolidates multiple marketing and CRM functionalities into a single platform, potentially replacing the need for various standalone tools and components, including:
- ClickFunnels: For sales funnel creation and management.
- ActiveCampaign: For email marketing and automation.
- HubSpot: For CRM and marketing automation.
- Calendly: For appointment scheduling.
- WordPress: For website and landing page building.
By integrating these capabilities, GoHighLevel aims to streamline and integrate business processes, reduce costs, and improve efficiency by providing an all-in-one solution.
Best Practices for a Customized Dashboard
- Keep It Simple: Don’t overwhelm the interface with too many colors or design elements.
- Test on Multiple Devices: Ensure your customizations look good on both desktop and mobile.
- Gather Feedback: Ask team members and clients about their experience using the dashboard and refine it as needed.
- Document Changes: Keep a record of CSS customizations and settings in case you need to replicate or troubleshoot them later.
FAQs
How to customize a dashboard in GoHighLevel?
GoHighLevel dashboards can be customized by navigating to the Settings tab and selecting options under the dashboard settings. You can tailor reports, track KPIs, and add widgets like lead tracking, sales data, and marketing performance metrics. Rearrange and resize widgets to fit your workflow. Custom views can also be created based on user roles or specific metrics.
What is GoHighLevel used for?
GoHighLevel is an all-in-one CRM and marketing platform designed to help businesses manage leads, automate workflows, and streamline sales and marketing efforts. It is commonly used for tasks like email and SMS marketing, pipeline management, appointment scheduling, client nurturing, and creating sales funnels.
How to create a dashboard in Tableau step by step?
To create a dashboard in Tableau, start by opening Tableau and connecting to your data source. Drag relevant fields to the Rows and Columns shelves to create worksheets with desired visualizations. Click the “New Dashboard” button at the bottom tab and drag these sheets or visualizations into the dashboard canvas. Adjust the layout, add filters, and customize titles as needed. Use objects like containers to organize the structure and enhance interactivity. Once finalized, save and share your dashboard.
What software does GoHighLevel replace?
GoHighLevel replaces a suite of tools by combining the functionalities of popular platforms such as Salesforce and HubSpot for CRM, ActiveCampaign and Mailchimp for marketing automation, ClickFunnels and Leadpages for landing page building, Calendly and Acuity Scheduling for appointment scheduling, and Podium and Birdeye for reputation management. By centralizing these features, it eliminates the need for multiple subscriptions, streamlining business operations.
Conclusion
The GoHighLevel dashboard is more than just a widget with an interface; it’s a powerful tool that can transform the way you manage your business. With its robust customization options, seamless integration of tools, and user-friendly design, it’s the perfect solution for businesses looking to enhance productivity and streamline operations.
So, roll up your sleeves, unleash your inner designer, and start tailoring your GoHighLevel dashboard to reflect the uniqueness of your brand. Your team and clients will thank you!


